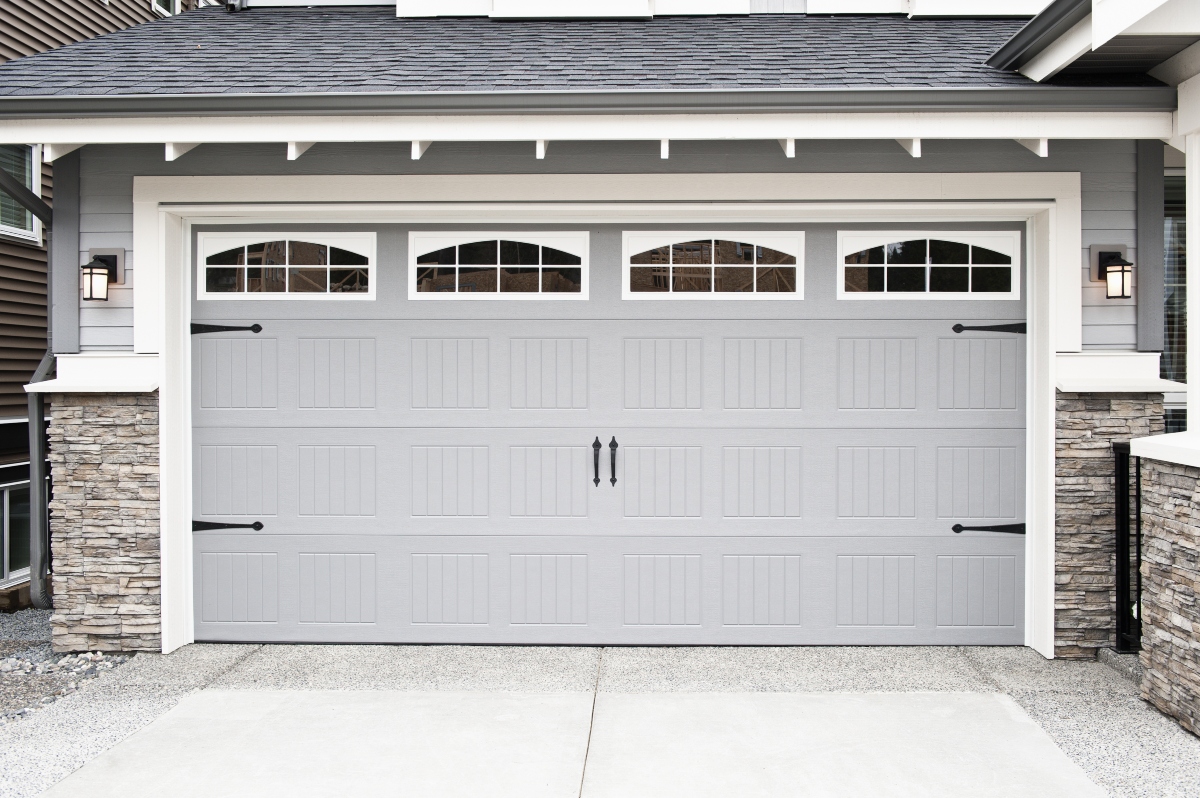
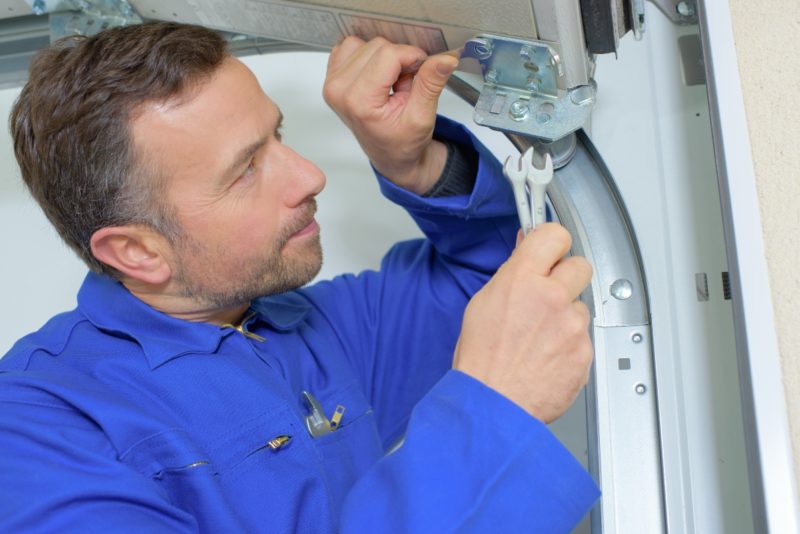
The value of your home can increase by up to 4% by installing a new garage door. Thus, a new roller door installed on an existing garage will not just increase its value, but will also improve security. However, it’s important that your new door is installed properly to guarantee that it’s safe and works well. If DIY isn’t your thing, it’s a good idea to hire a professional to install your new roller door.
However, if you’re a seasoned DIYer who’s stumped by your roller garage door installation instructions, keep reading as Infinite Garage Doors shares how to correctly install a roller door, including the tools you’ll need and proper maintenance.
List of Tools Needed
To properly install your roller door, you’ll need the following tools:
- Two step ladders – installation is easier when you have someone to help you
- Laser level – to make sure the brackets on both sides of the door are perfectly level
- Spirit level – to guarantee that once installed, the door is perfectly level
- Marker pen
- Measuring tape
- Pipe wrench – to adjust the spring on the roller door
- Softwood chock or stopper around 400mm long
- Power drill & drill bits – for drilling holes to mount the brackets
- Socket wrench – to tighten and loosen the wall brackets’ fasteners

Step-By-Step Installation Process
Step 1: Brackets
- On each side of the entrance, measure and mark the width of the roller door. Add extra width (ideally 50mm) on each side for the brackets inside the line. The amount of extra width required is determined by the size of your doors; check your installation instructions for specifics.
- Ensure there is enough head and side room clearance. Hold the bracket in place and drill two or three holes (the number may vary depending on the installation instructions for your door). The bracket should be levelled, drilled and bolted into position.
- Mark the height of the second bracket on the opposite wall with the laser level and drill it into position.
- Check the axle length. Elevate the door using lifting equipment to place it safely. Make sure the roller door is front-facing when it’s rolled down.
- Rotate the floating axle a quarter turn in each direction before releasing it to ensure it is centred. Make a clear mark on the axle against the hub for future reference once you’ve determined the centre.
- Loosely fasten the U bolts, saddles, washers, and nuts to the brackets right away. Fitting the U bolts prevents the door from falling from the brackets.
- Centre the garage door with the opening, making sure the floating axle is aligned with the door as well. Rotate the axle and curtain so that the bottom section should be on the inside of the garage. Tighten the nuts securely as you push the axle forward in the slots, toward the opening.
Step 2: Springs
- Firmly attach the axle to the brackets with the U bolts and tighten with nuts and washers.
- Apply spring tension by rotating the door 11/2 turns in a forward direction. The size of the door determines how many times you rotate it.
- Get an assistant to cut the strapping while you maintain spring tension.
- Pull the roller door curtain slowly and put the wooden chock to hold the door open until the guides and stops are in place.
Step 3: Tracks
- Pull the door down to ensure it overlaps with the doorway. Check that the guides are the correct length (based on the size of your door) and that the brackets are level.
- Slide the first track over the door’s edge on one side. Before fastening the track, operate the door fully to ensure that the track is not binding at any point. Use fasteners to loosely fit the track to the wall.
- Do the same thing on the other side. Double-check that both tracks are precisely vertical using the spirit level.
- Test the door’s tension by moving it up and down and making sure it’s not binding in the tracks at any point. If necessary, make adjustments. Securely tighten both tracks.
- Attach the handle to the outside of your door with screws.
- If your door comes with a weight bar, attach it to the bottom rail for better support.
For Troubleshooting
- If the roller door is difficult to open, inspect if it is jammed on one of the tracks and adjust the track as needed.
- If the door is difficult to lift or lower, adjust the spring tension to provide more lift (the door will tend to drop) or less lift (the door will tend to rise)
- If the door becomes difficult to open over time, make sure the tracks are clean and free from oil.

How to Maintain Your Roller Door
- Clean the door curtain’s surface by washing it with a soft cloth or sponge and a light soap or detergent solution in warm water. After cleaning, rinse thoroughly with clean water to remove any residue.
- Look for signs of wear and tear on springs, brackets, fasteners, tracks, cables, and the weather seal.
- Use oil or grease to lubricate the springs. It avoids locking the mechanism and ensures it’s functioning properly.
- Instead of lubricating the tracks, wipe them off regularly.
- Do a balance test by closing the door completely and then lifting it to waist height, where it should stay. If not, the spring may need to be rebalanced.
Trusted Garage Door Installation and Repair Service
If you think you’ll not be able to re-tension the spring yourself, Infinite Garage Doors is your trusted local expert in garage door repair. We’ve been providing quality garage door repairs for years, including the installation of new garage door motors, roller door repairs, and offer replacement parts.
For unmatched garage door installation and repair services, call us at 0417 299 581 or send an email to admin@infinitegaragedoors.com.


Leave A Comment